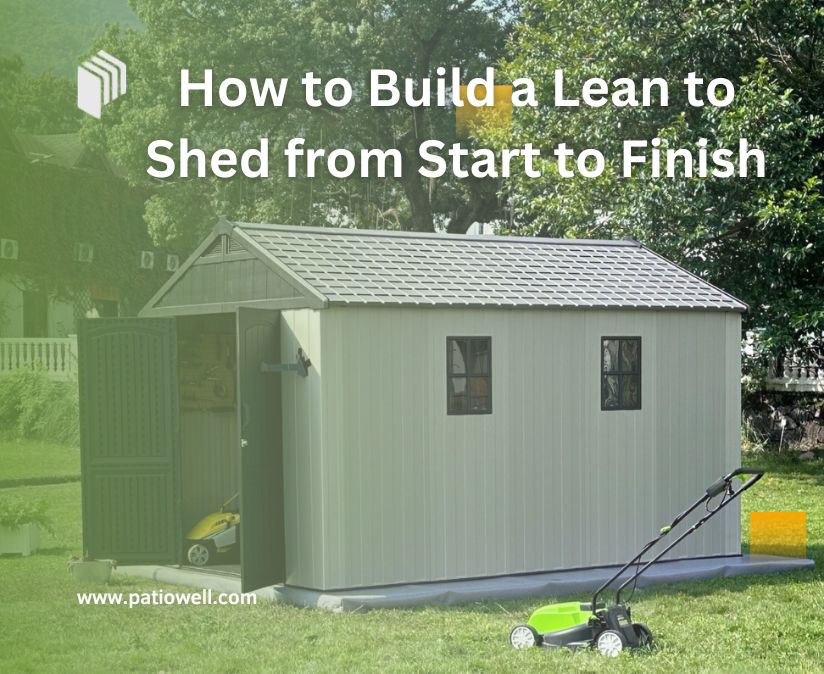
Wondering how to build a lean to shed, but not sure where to start? Building a shed might seem like a big task, but don't worry; this guide will help you every step of the way.
We'll break down the process into very simple steps so you can build your shed with ease. Whether you're a first-time builder or just want an easy outdoor storage solution, this article will make it all clear.
Table of Contents:[hide]
Materials Needed
Before you start building your lean-to shed, try to gather all the materials you will need. Having all the materials prepared on hand will make the work faster and easier.
Here is a list of the materials you will need:
- Wood Lumber 2x4s and 2x6s for framing
- Plywood for floor, siding
- Roofing materials, such as shingles, sheets of metal, or corrugated roofing.
- Concrete Blocks or Gravel (for the base)
- Nails, Screws, and Bolts (to hold the pieces together)
- Door Hardware - hinges, handles, and locks
- Roof Supports - metal brackets or lumber
- Exterior Paint or Stain (for finishing and protection)
- Tools - hammer, saw, drill, level, tape measure, etc.
Once you have all your materials, you will move to the next step ready to go onto the actual planning and designing of the lean-to shed.
How to Build a Lean to Shed
Here are the steps that will help you:
Step 1: Plan and Design
Before you begin to build, you must plan your shed: consider its size and location. Make sure that the land is level and dry. Then, measure the area carefully.
If you need to store bigger items such as big equipment, then you should choose a larger size like 10' x 12'. You can create your own simple design or print off some free shed plans off of the internet. Check also whether you need a permit to build a shed where you are.
Step 2: Setting the Foundation
A strong foundation is key to keeping your shed stable and dry.
- Concrete Blocks: These give a really good base, space them about 3 feet apart and get them level. That will elevate your shed off of the ground, keep it dry.
- Gravel Base: Gravel will suffice in the case of good-draining soil. Lay landscaping fabric to prevent weeds and pour in 4-6 inches of gravel. Go over it with a tamper to compact, smoothing any lumps or bumps out to make the area even.
- Wood Skids: This will be for a slight elevated foundation and essentially is pressure-treated wood beams, called skids, laid on top of the blocks or gravels.
Step 3: Frame the Walls
Now you are going to build the walls.
- Wall Frames: Cut the 2x4 lumber in appropriate lengths. Start with framing the bottom first. Add in vertical studs 16" apart and then put on a top frame piece to hold it all in place.
- Secure the Frame: After the frames are ready, attach the wall frames to the foundation using anchors.
- Door and Windows Openings: Frame in the space for the door and any windows. Ensure these are square and solid.
Step 4: Install Roof Supports
With the lean-to design, the roof comprises a major portion of the house, and hence it's important to get it right.
- Rafters: Cut 2x6 rafters and place them on top of wall frames. The rafters should slope to allow the water to run off easily.
- Roof Supports: Metal brackets or extra wood are used for reinforcing the rafters and holding them in place. Line everything up appropriately.
Step 5: Add the Siding and Roofing
Now, you'll be giving your shed protection against the weather.
- Siding: Put the plywoods or any type of siding over the external part of the walls, from the bottom to the top, as you advance upwards and attach using nails or screws a few inches.
- Roofing: It is going to be in the form of shingles, sheets of metal, or panels in corrugation. When using shingles, attach the felt and then begin the installation, progressing in courses and laying courses with overlapping from each previous course. For metals, use a simple joint to put sheets together, fitting well without letting any gap stay there.
Seal the roof by either caulking or taping any gaps or edges that are likely to leak.
Step 6: Add Doors and Finishing Touches
Now it is time to finish your shed.
- Door: A simple door built of 2x4s and plywood, hinged with heavy-duty hinges, and with a latch or lock attached.
- Paint or Stain: Either use outdoor paint or use wood stain to protect the shed from rain and sun, making sure all the wood is covered against decaying and to make it longer-lasting.
- Trim: Add trim around the windows and door. You can also paint to match the rest of the shed.
Step 7: Add-Ons
With a few extras, you can make your shed even better.
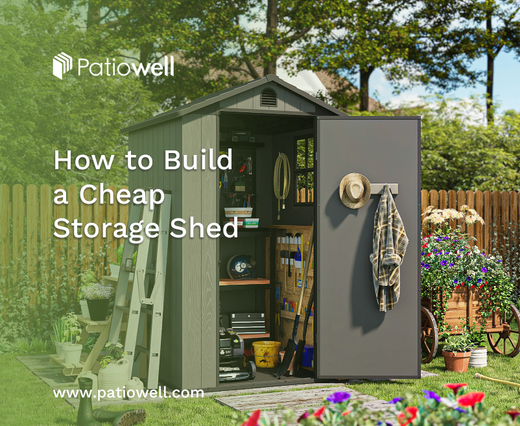
- Shelves: Fix the shelves inside to keep tools or any other stuff.
- Electricity: If you need some light or outlets, consider simple electrical wiring. If you're not comfortable with this, call in a professional.
- Ramp: A wooden ramp will help to move big items in and out much more easily if you have any.
- Gutters: You can install gutters on the roof to catch rainwater for use in gardening.
Just by following these few easy steps, you will be able to construct a lean-to shed that is strong, serviceable, and of appealing appearance.
Tip for Building a Lean to Shed
Here are some simple tips that will make building your lean-to shed easier and ensure that it lasts for a long time.
-
Measure Twice, Cut Once
Always double-check your measurements before you start cutting anything. It's so easy to make mistakes, and afterward, trying to correct them wastes a lot of time. Get it right the first time and save yourself some trouble.
-
Make Sure Everything is Level and Square
Check everything to be level and square at all times during construction. Use a level tool to ensure your foundation, walls, and roof are straight and level. If the shed is not level, then the walls will be crooked, or they may not fit.
-
Choose the Right Roofing Material
Select the roofing material that best suits your climate. If there's a lot of rain or snow, then metal roofing could be the best for you, being durable and keeping the water off. For dry areas, asphalt shingles might be cheaper but still effective.
-
Leave Room for Future Additions
As you design your shed, allow yourself to think about putting up shelves or a working table later on; if you want, allow space for that in the future.
-
Use Galvanized Nails and Screws
Galvanized nails or screws can be used for outdoor projects as they never rust. This would protect the shed and ensure that it would remain robust for years.
With these easy tips, you'll have a strong, reliable lean-to shed in no time.
DIY Sheds for You
If you are on the lookout for an easy DIY shed, then you are going to love Patiowell pre-designed shed kits, which literally come with everything you might want and are pretty easy and quick to assemble.
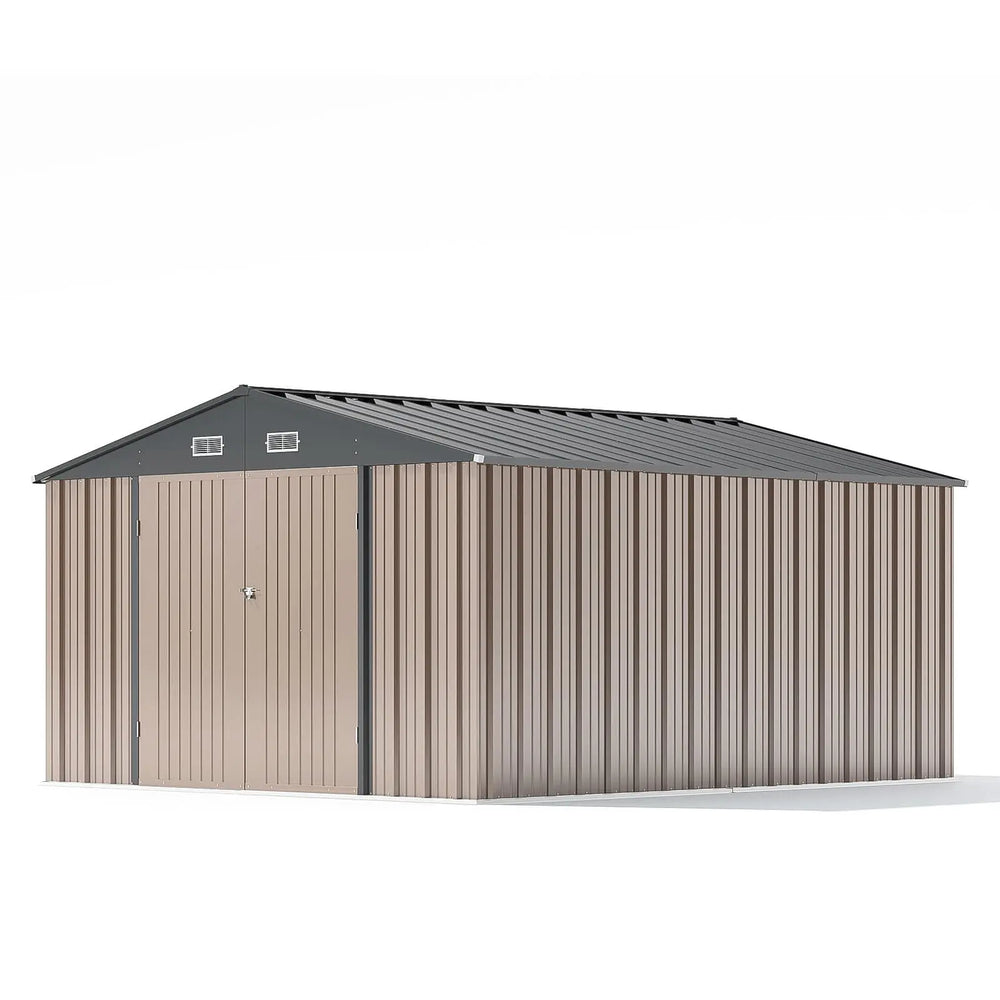
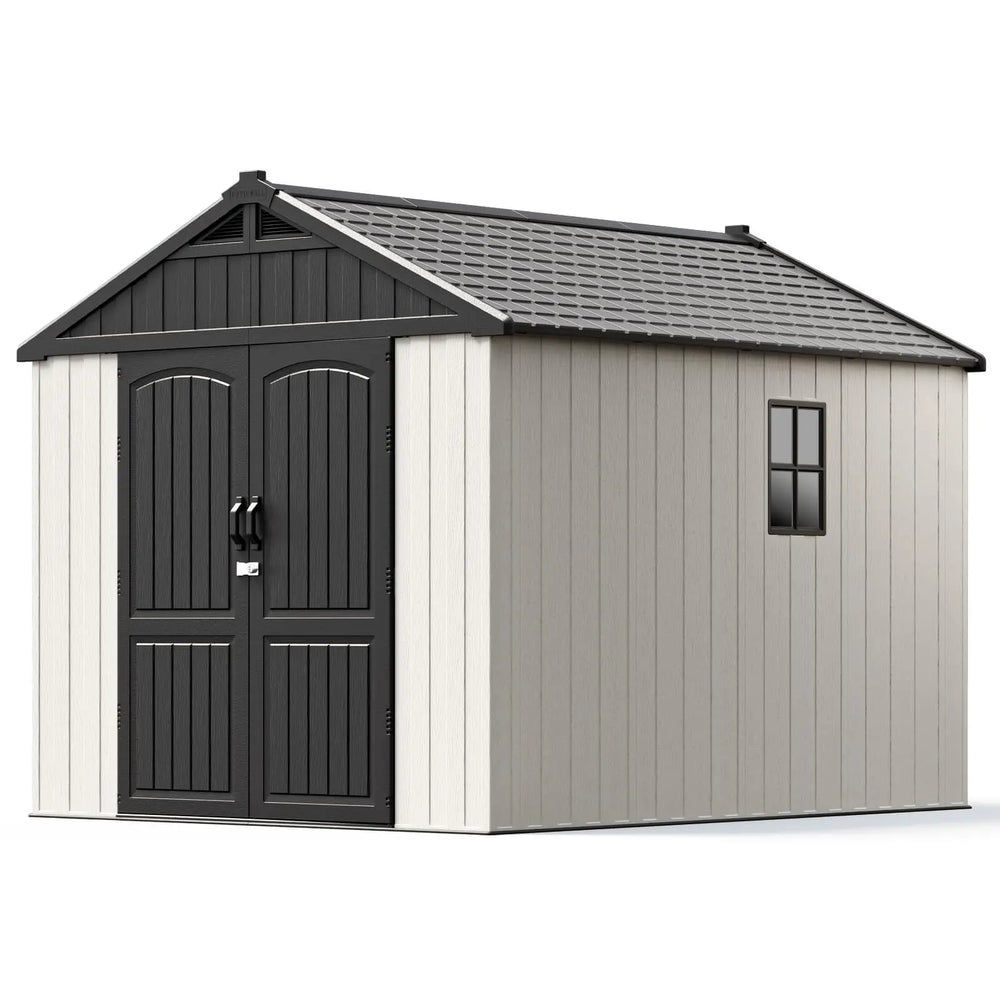
Patiowell sells both metal and plastic sheds in various sizes that can satisfy different demands for storage.
Constructed of rust-resistant steel, these sheds are durable and come in sizes from 3x3 feet up to 10x12 feet. They boast secure, lockable doors and a sloping roof design for inhibiting water buildup. While sometimes requiring quite a bit of time to assemble, the sturdy construction is well worth it.

- Provide excellent resistance to rust, corrosion, and weather damage.
- Offers versatile storage solutions for tools, equipment, bikes, and outdoor essentials.
- Requires minimal upkeep compared to wooden alternatives, making it a hassle-free option.
- Sleek and practical design complements any outdoor space or backyard setting.
Made from weather-resistant resin, these low-maintenance sheds are lightweight and range in size from 4x4 feet to 8x12 feet. Easy to assemble, customers love the spacious design and quick setup.

- Made from high-quality resin material that resists rust, rot, peeling, and fading.
- Strong yet easy to move, ensuring convenience without compromising durability.
- No need for painting or treating; simple cleaning keeps the shed looking new.
- Designed to withstand sun exposure without cracking or warping, ensuring long-lasting use.
You can get Patiowell sheds from Amazon, and Home Depot, among others, with free shipping to sweeten the deal, and with a warranty so it's worth your while. The Patiowell shed will solve your storage problems in an easy and durable way.
Conclusion
Building a lean to shed is one of the most excellent ways to add storage to your yard. By following this guide, you should be able to make a strong and useful shed for yourself. Whether you opt to do it yourself or rather purchase a ready-made shed like Patiowell, you'll have a safe place to store your things.
Take your time, and before you know it, you will be done building a functional, long-lasting shed.
Diana Mason
Hi there! I’m Diana Mason, the chief editor of Patiowell brand. With over 15 years of diving deep into the world of outdoor furniture, I’ve developed a keen eye for what makes outdoor spaces truly special. I love sharing tips and inspiration to help you create your perfect backyard retreat. Our blog is a reflection of my passion and expertise, featuring only the best pieces that I personally vouch for. Thanks for stopping by—I can't wait to help you transform your outdoor living space!


Leave a comment
All comments are moderated before being published.
This site is protected by hCaptcha and the hCaptcha Privacy Policy and Terms of Service apply.