How to build a cheap storage shed without having to spend too much is a wonder. Building a shed can seem expensive if you are running out of space and need a place to store your stuff.
However, do not worry because this guide will show you how to make a shed but on a budget. With just a few basic tools and some smart planning, you are able to make a simple and useful shed that does not cost a fortune.
Table of Contents:[hide]
Tools Required
Before you start building your cheap storage shed, you should prepare your tools. So, to complete the work, you don't need that much fancy equipment. The basic tools that you need include:
- Hammer or Nail Gun: The most common tool used for driving nails is a hammer, but if one has the luxury, a nail gun certainly speeds things up.
- Measuring Tape: You are going to be measuring and cutting materials, so you will need a measuring tape.
- Circular Saw: A very important tool that helps you cut the wood to size, but this is especially good if you need to make straight and clean cuts.
- Level: A level will ensure the shed is being built straight and level and everything will fit together the way it should.
- Power Drill: You will want a drill for driving screws into the wood, mainly for framing the walls and roof.
- Shovel: If you are digging for a foundation, a shovel will be helpful in leveling the ground.
- Safety Gear: Don't forget your gloves, safety glasses, and ear protection to stay safe while working.
Materials Needed
Now that you have the toolset ready to go, let's shift our concentration to the materials you're going to use in setting up your cheap storage shed. Here is what you will need to get your shed up and running in no time:
- Pressure-Treated Lumber: It would be used for the foundation, the floor framing, and the wall framing of the shed. Strong and resistant to rot, pressure-treated lumber will not decay easily and will last a long time when in contact with soil and/or dampness.
- Plywood Sheets: These will be very important for flooring and walls. It's cheap, easy to cut, and provides a good structure.
- Roofing Material: The roofing can be done with corrugated metal sheets or asphalt shingles. These are relatively cheap and can bear wear and tear for a pretty long time. Of the two, corrugated metal is low maintenance.
- Nails and Screws: You will be requiring plenty of nails and screws for locking the framework and the walls. You may consider getting galvanized nails, so they do not rust, especially for outdoor purposes.
- Door Hinges and Latch: For the shed's door, you'll need a set of sturdy hinges and a latch to keep it securely closed.
- Paint or stain: This will provide your shed with the appropriate finish against the elements, protecting it from further deterioration by keeping the wood from rotting and simply adding a nice finish.
- Gravel [Optional]: If it is to be made upon soft or uneven ground, laying a layer of gravel will create drainage and stability.
With these materials, you'll have everything you need to create a functional and cost-effective storage shed!
How to Build an Economical DIY Shed
Now that you have your tools and materials, let's start building the shed. Here's a step-by-step guide to help you along the way in your endeavor of making a low-budget shed.
Planning a Shed
First, you have to be very careful in planning your shed. You need to determine the size and the design according to how much space you need. You can download free plans on the internet or you can just sketch a simple design. Be sure to measure everything properly before you begin.
Build a Foundation
A good shed starts with a solid foundation. Clear the area first where you will set your shed. If the site is uneven, level the ground with a shovel. Then, line the edges with pressure-treated lumber to create a frame for the foundation.
Concrete blocks or gravel can also be used for added support. Make sure the foundation is level to avoid future problems.

Complete the Floor Frame
Next, construct the floor frame with pressure-treated lumber. Place beams parallel to each other and secure them together with nails or screws; then, put plywood over the top to make up the floor of the shed. Make sure everything is square and level before attaching the plywood.

Frame the Walls
Time to start building the walls. Cut the lumber to length. Then, assemble rectangular frames for the walls by nailing vertical studs between horizontal top and bottom plates-check for square, and use a level to make each wall straight. Raise and secure all four walls to the floor frame.

Frame the Roof
Do the roof framing, which is going to be much like the wall framing. Cut the lumbers for the roof supports or rafters and attach these to the top of the walls. The roof has to have a slight slope for drainage, so accordingly angle the rafters, making sure the roof is square and secure before proceeding further.

Install the Roofing
Now, line the roof with your preferred material. If you're using corrugated metal, start from the bottom and work your way up, making sure to overlap the sheets so they don't leak.
If you're using asphalt shingles, follow the manufacturer's instructions for proper installation. Both options are cheap and very effective at keeping your shed dry.

Install the Door
Cut a piece of plywood to size and fit the door into place. Attach hinges to one side and a latch on the other. The door should swing without hindrance and close snugly. You can fit a basic lock for more security if needed.
Paint or Stain
Finally, protect your shed from the elements by applying a coat of outdoor paint or stain. This will help preserve the wood and keep it looking good for years to come. Choose a color that matches your style and gives your shed a finished look.
And with these easy steps, you now have a low-budget functional storage shed! Stand proud of your work and enjoy the additional space you created.
Recommended Easy DIY Shed
Among some of the more easy-to-assemble DIY shed kits, a number of brands have great reputations for quality and ease of use. Some of the best options include:
1.) Keter
Keter resin sheds are designed to be durable yet relatively easy to build. Resin sheds also resist weathering elements and are pretty easy to maintain.
2.) Lifetime
Lifetime offers HDPE sheds that are UV-protected to handle different kinds of weather. The steel-reinforced construction will provide stability and longevity.
3.) Patiowell
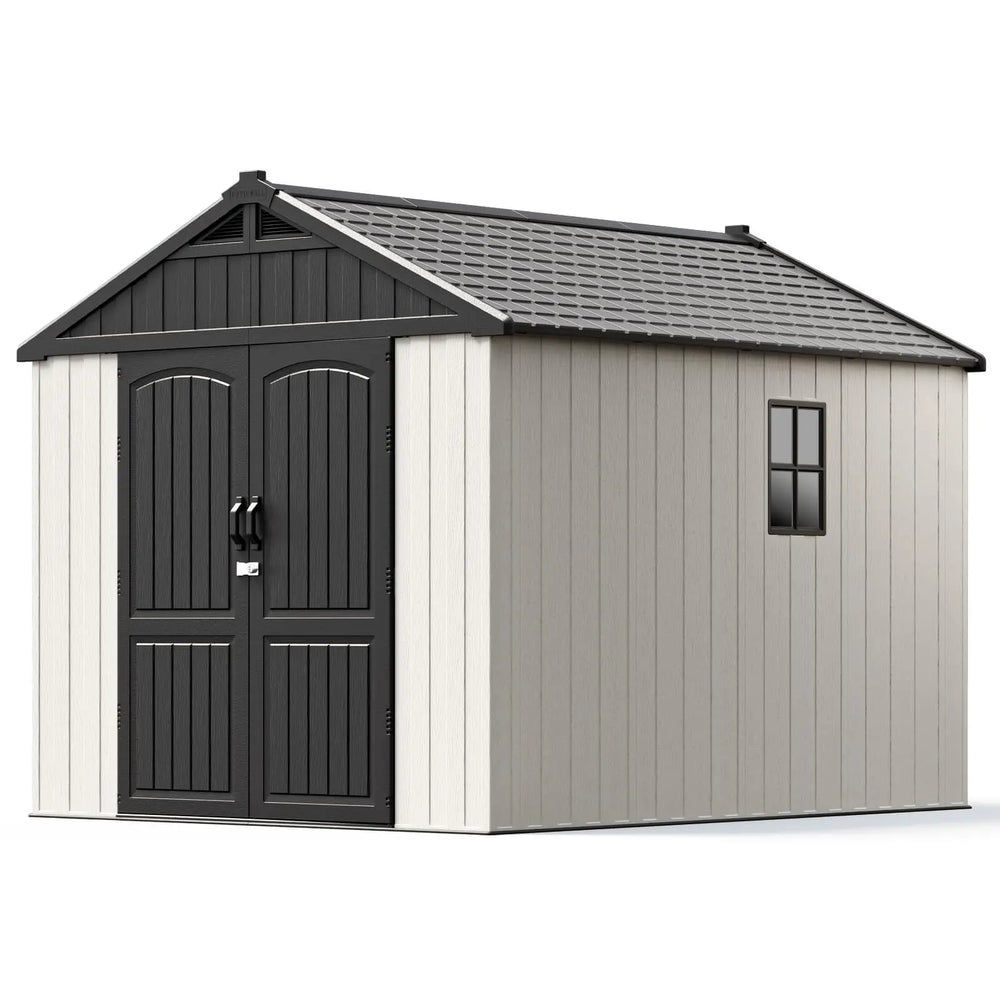
Patiowell builds practical but stunning sheds in metal and plastic varieties. Their sheds are quick and easy to assemble, ideal for the DIY-minded consumer.
In all, Patiowell has many solutions in storage outdoors, with plastic or metal sheds coming in all shapes and sizes according to various needs.

- Made from high-quality resin material that resists rust, rot, peeling, and fading.
- Strong yet easy to move, ensuring convenience without compromising durability.
- No need for painting or treating; simple cleaning keeps the shed looking new.
- Designed to withstand sun exposure without cracking or warping, ensuring long-lasting use.
Key Features:
- Durable Materials: Patiowell sheds are either made of high-quality, rust-resistant metal or robust plastic that could bear up to the elements of weathering: rain, wind, and UV rays.
- Ease of Assembly: With the DIY user in mind, Patiowell sheds come with pre-cut and pre-drilled parts and clear instructions for hassle-free assembly.
- Functional Design: Patiowell sheds have practical designs to prevent water retention through their sloping roofs and secure the sheds with lockable double doors.
A huge sentiment from users is that the Patiowell sheds are well worth the money they paid for them, though many did like the appearance of the shed once finally put together.
Conclusion
So, that's how to build a cheap storage shed. With the proper materials and tools, a bit of time will be enough to make you a strong and functional shed in which you should store your items.
With the steps we have outlined here, you will save money and end up with a shed that meets your needs. Now, get started with your tools and enjoy all the extra space!
Diana Mason
Hi there! I’m Diana Mason, the chief editor of Patiowell brand. With over 15 years of diving deep into the world of outdoor furniture, I’ve developed a keen eye for what makes outdoor spaces truly special. I love sharing tips and inspiration to help you create your perfect backyard retreat. Our blog is a reflection of my passion and expertise, featuring only the best pieces that I personally vouch for. Thanks for stopping by—I can't wait to help you transform your outdoor living space!


Leave a comment
All comments are moderated before being published.
This site is protected by hCaptcha and the hCaptcha Privacy Policy and Terms of Service apply.