Having trouble moving things in and out of your shed? Maybe a shed ramp is exactly what you need. You could make access so much easier if the ground is uneven or there are stairs leading up to your shed by simply building a ramp.
In this article, we are going to show you how to make a shed ramp in some easy steps. Even if you are a complete beginner in DIY projects, with only a few materials and following the instructions, you will accomplish your ramp in no time.
Table of Contents:[hide]
Why Build a Shed Ramp?
A shed ramp can make it lots easier to move things in and out of it. This is especially apparent if your shed has steps or if the ground is uneven-mostly when moving heavy items with wheels, such as mowers, bikes, tools, etc. A ramp solves this problem by giving you a smooth route for wheeled items.

A shed ramp also helps with safety: without a ramp, lifting big heavy things can cause sprains or accidents. But by building a ramp, you make it easier on yourself and safer to use your shed. The best thing is that it's very easy to make yourself using just a few basic materials.
Now, let me detail how you can build a shed ramp.
Materials Needed
Before trying to build a shed ramp, you want to make sure you have everything that might be needed. Here's a simple list that can get you going:
- Wooden Boards: These will be used for the ramp surface and frame. You will need a few sturdy, pressure-treated boards.
- 2x4 Lumber: For framing in the ramp, these provide support so that everything can be in place.
- Decking Screws: These will be helpful in securing the pieces of wood together. Get screws that can hold the ramp in place.
- Support Blocks: These are blocks that will support the ramp and provide its stability.
- Concrete or Gravel Optional: That can be laid for support if extra support for the base is needed and it will also level the ground.
- Optional Wood Finish: A finish or sealant on wood will help protect the ramp against the weather and extend the life of the ramp.
Having this prepared, your materials are ready for making a shed ramp.
How to Build a Shed Ramp Step by Step?
It is a lot easier to build the shed ramp than it actually sounds; just follow these easy steps, and in no time, you'll have a functional, very sturdy ramp.
Step 1: Check Local Regulations
Check with your local building codes and regulations before building. Some municipalities have requirements concerning ramp length, slope, and material, especially if it will be used for accessibility. This way, you won't have future problems that will be a waste of time to alter.
Step 2: Measure and Plan
Measure from the height of your shed door to the ground. Take those measurements and work out the slope - ideally a gentle 1:12 ratio, which means for every 1" of rise, there will be 12" of ramp length.
Determine your ramp width next. This should be large enough to carry the largest item you will move. Sketch your design so that you can envision what the finished project will look like and list the materials you will need.
Step 3: Lay the Foundation
Clear the ground where the ramp will sit, leveling it. If the ground is uneven, lay down and compact gravel or a thin layer of concrete for a solid base. A solid base translates to long-term stability with no shifting.

Step 4: Build the Frame
Now you will have to build the frame:
- Cut the Lumber: Cut the Lumber 2x4 pressure-treated wood to length and width desired for ramp.
- Assemble the Frame: Layout the cut pieces in a rectangular fashion and attach them using decking screws; make sure the frame is square and rigid.
- Add Cross Supports: Nail extra 2x4 beams across the frame at regular intervals; this strengthens the ramp and avoids sagging with heavy loads.

Step 5: Support Blocks
Place support blocks under the frame to give it extra stability. Set these blocks evenly across the length of the ramp, but especially at the base and the middle points. Use screws to secure the frame onto the blocks so that it doesn't shift.
Step 6: Lay Decking Boards

Now, it's time to install the decking boards:
- Cut the Boards: Pressure-treated decking boards should be cut to the width of your ramp.
- Place and Secure the Boards: Lay the boards over the frame, allowing about 1/8 inch of space between the boards for water to drain off and for expansion in the wood. Fasten them using decking screws.
- Optional Traction: Add strips for no slipping or use a textured decking board for an even safer option.
Step 7: Finishing Touches
Finally, here are some recommended finishing touches to make your shed ramp a fine and clean look:
- Smooth the Edges: Sand down any rough spots or sharp edges for a polished, safe finish.
- Apply Sealant: Apply a wood finish or sealant to protect your ramp from weather conditions.
- Test the Ramp: Once the ramp is set, with a heavy object such as a wheelbarrow, test how stable it is. If weak spots are found, add more support blocks or additional frame reinforcement.
DIY for You Easily
Building a shed ramp is a straightforward DIY project that can greatly enhance the accessibility of your outdoor storage space. To make your project even easier, consider pairing your new ramp with a quality shed from Patiowell. Patiowell offers a variety of durable and easy-to-assemble sheds, including both metal and plastic options, to suit your storage needs.
Following are a few of the popular Patiowell sheds you might want to consider:
-
Patiowell 5x4 Plastic Shed
A compact, weather-resistant plastic shed for storing garden tools and equipment.
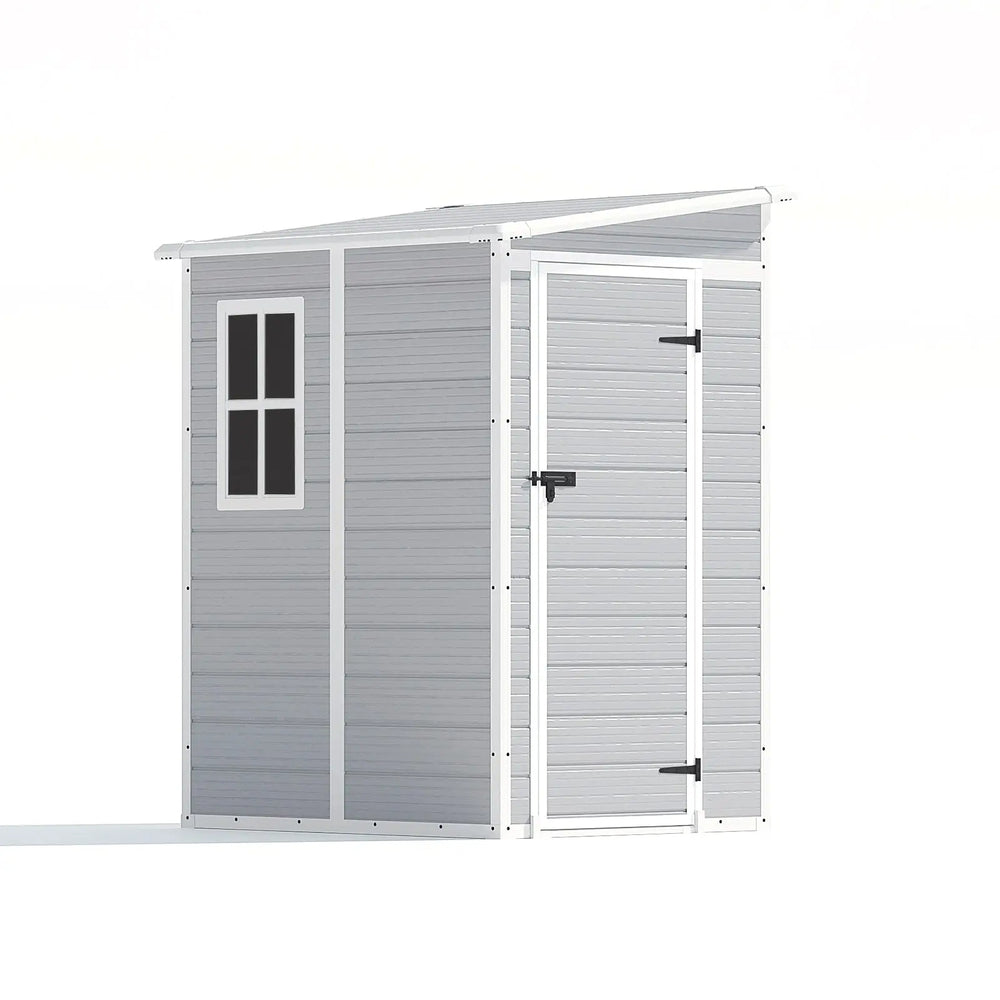
- Spacious Storage Space Can Store More Items
- Waterproof and Easy to Clean
- The Ventilation Ensures Fresh Air
-
Patiowell 8x6 Metal Shed Professional
A spacious metal shed in a peak roof design: spacious inside, strong outside.
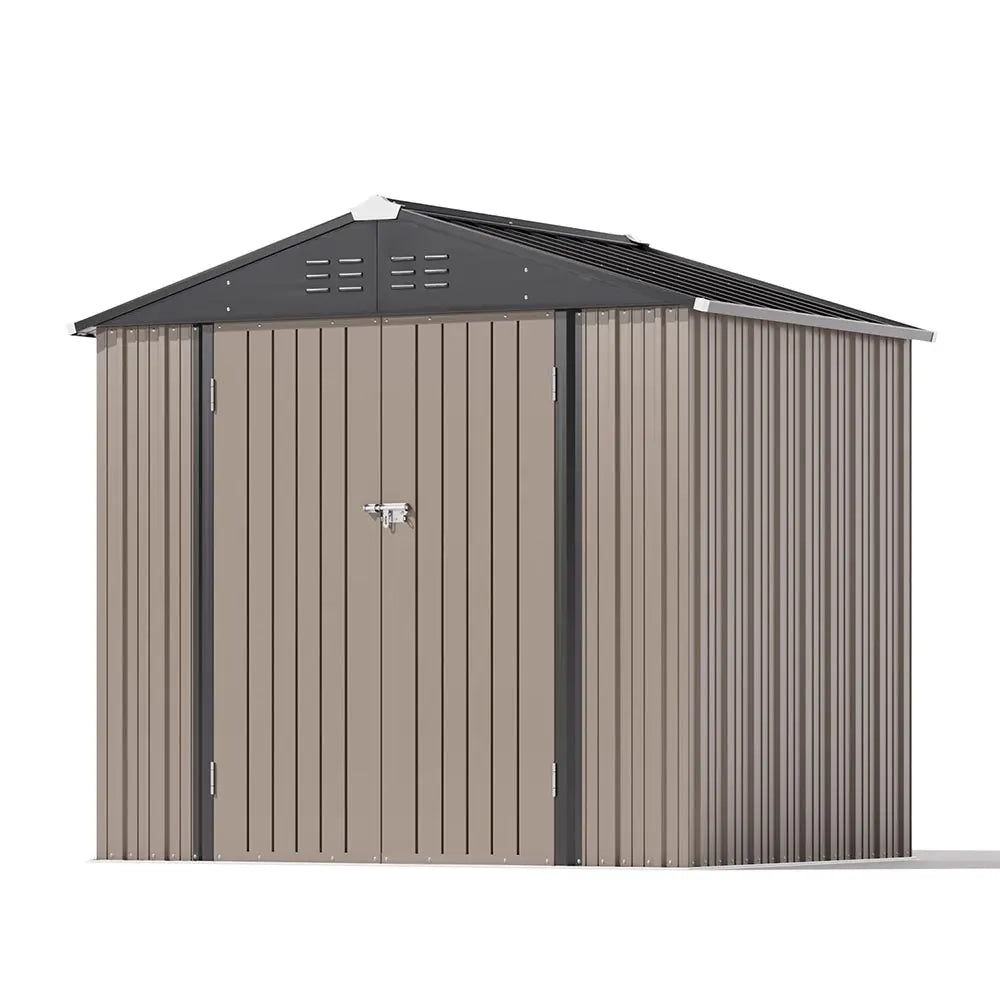
- Double Reinforcing Rigs Ensure Stability of Door
- Galvanized Metal Panels Provides A Stable Structure
- Continuous Fresh Air with Ventilation Design
-
Patiowell 6x4 Metal Shed Pro
A medium-sized, sloping-roofed metal shed for comfortably storing medium-sized tools and equipment.
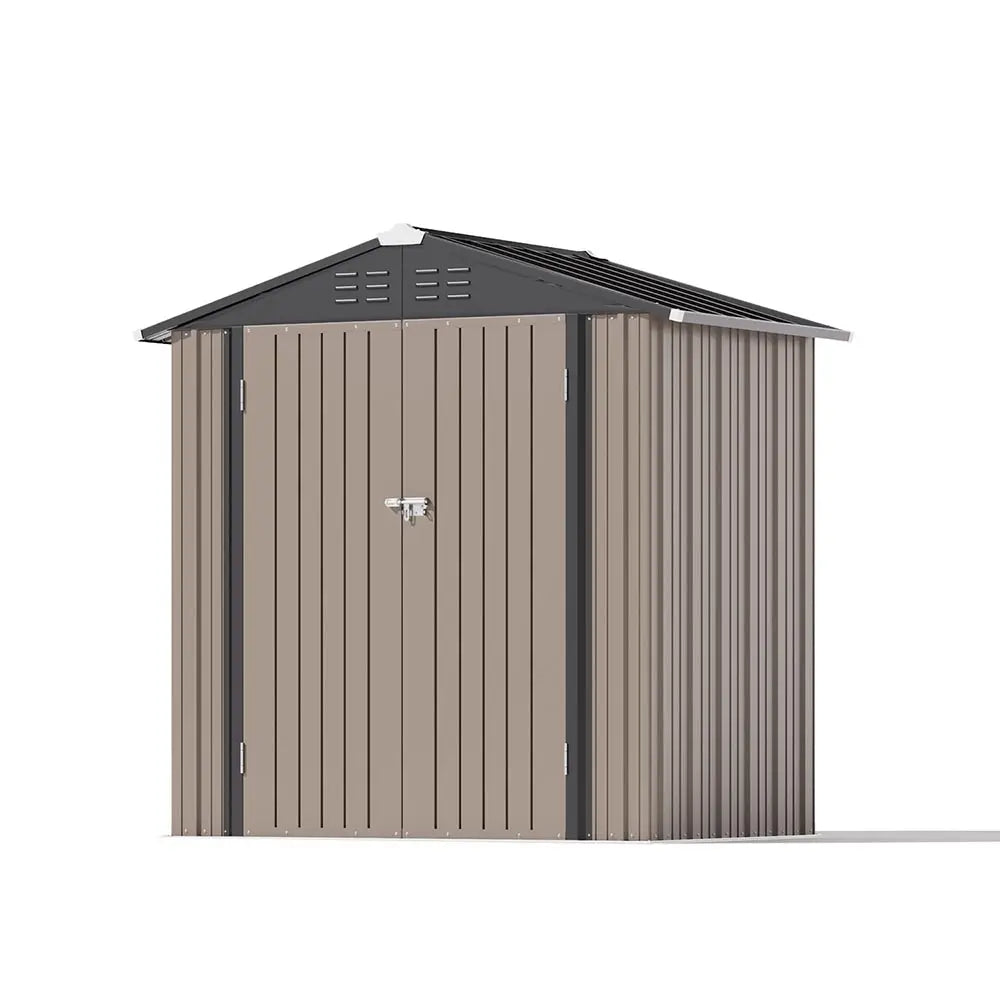
- Double Reinforcing Rigs Ensure Stability of Door
- Galvanized Metal Panels Provides A Stable Structure
- Continuous Fresh Air with Ventilation Design
-
Patiowell 5x3 Metal Shed Pro
Small metal tool shed with sloping roof; ideal for a few small tools and minor gardening utensils.
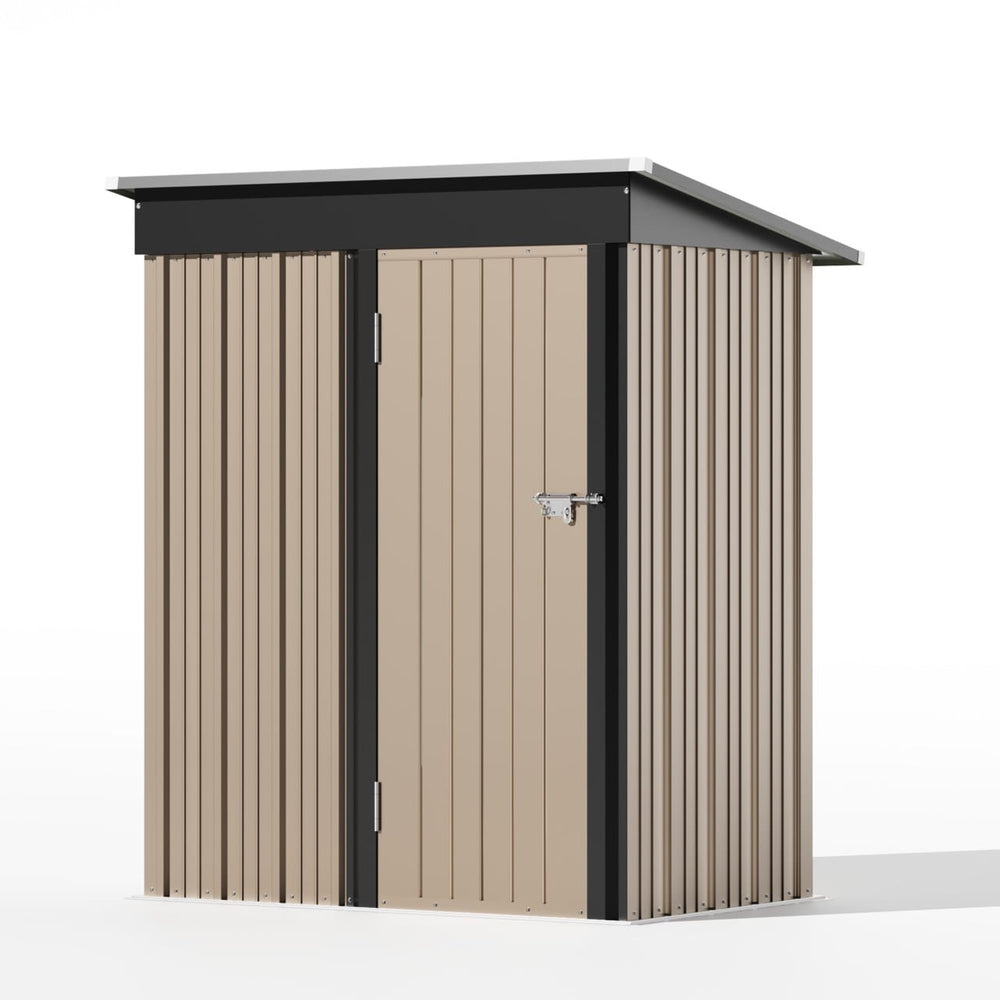
- Sturdy Exterior Construction For Added Stability
- Suitable Size For All Your Items
- Lockable Door Provides Extra Security For Your Belongings
-
Patiowell 3x3 Metal Outdoor Storage Shed Pro
The metal shed, though compact, has enough room to fit very well into tight areas to hold gardening supplies and tools.
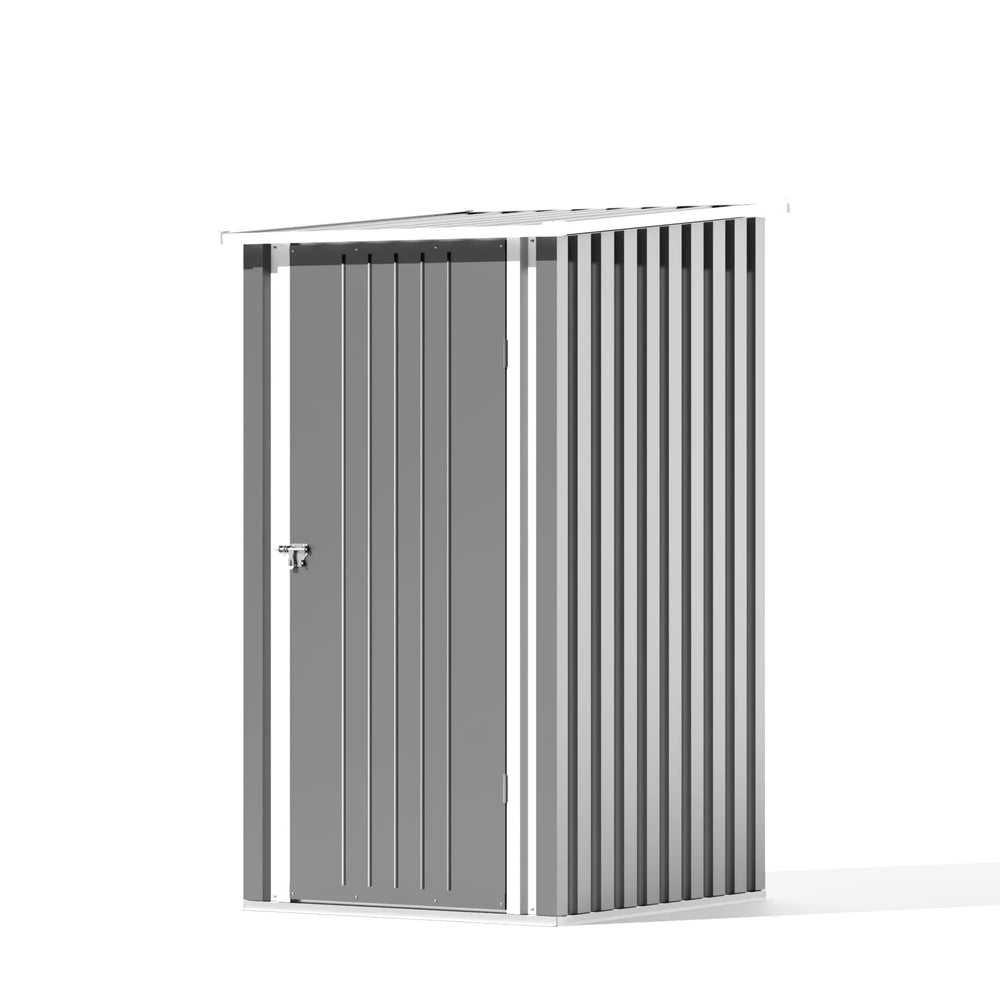
- Multiple Uses Of This Shed
- Waterproof and Easy to Clean
- Sloping Roof Design
The shed can become truly functional with the combination of a well-chosen shed and a ramp that was specifically designed with a certain use in mind.
Conclusion
The good news is that making a shed ramp is rather easy, as it takes only some widely available materials and simple actions, which in the end will give you a strong and helpful creation. Combine it with your shed from Patiowell, and you will get just the ideal place to store something. Now, have fun with new, way easier shed access!
Diana Mason
Hi there! I’m Diana Mason, the chief editor of Patiowell brand. With over 15 years of diving deep into the world of outdoor furniture, I’ve developed a keen eye for what makes outdoor spaces truly special. I love sharing tips and inspiration to help you create your perfect backyard retreat. Our blog is a reflection of my passion and expertise, featuring only the best pieces that I personally vouch for. Thanks for stopping by—I can't wait to help you transform your outdoor living space!


Leave a comment
All comments are moderated before being published.
This site is protected by hCaptcha and the hCaptcha Privacy Policy and Terms of Service apply.