


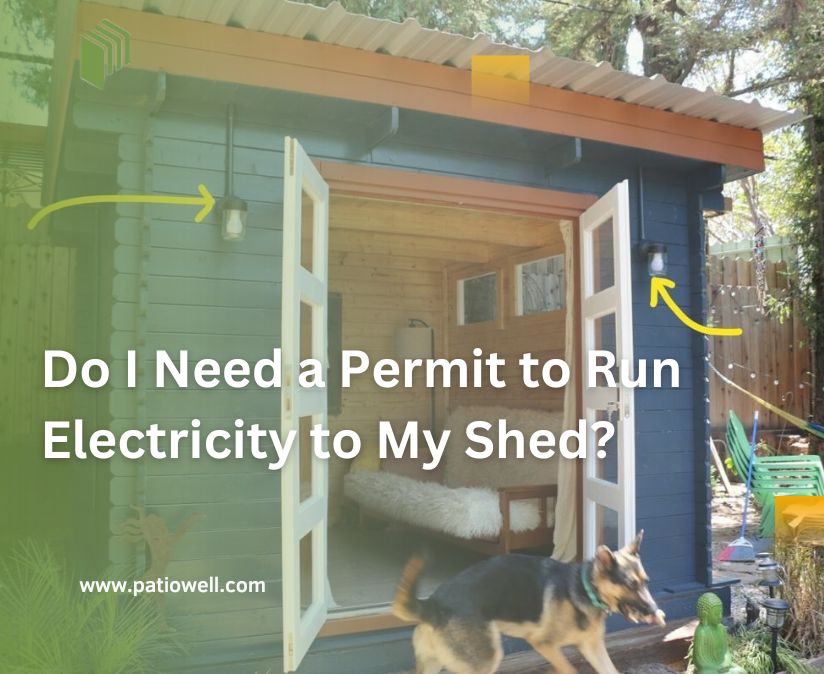
Does running electricity to my shed require a permit? You might ask how to power a shed with lights, tools, or a small workshop. But first - get a permit before you run wires. Nothing is worse than getting fined or having safety issues with an incorrect installation.
The local electrical permit regulations vary by location - knowing when you need one and when you do not can save time and frustration. Hence, this article is all about electrifying your shed legally and safely - from permit regulations to installation tips.
Table of Contents:[hide]
When Do I Need A Permit and When I Don't Need?
Understanding permits before you electrify your shed is important. These are general rules that may vary depending on local building codes, but they should be fairly consistent:
If you have a general rule of thumb:
You Need a Permit If:
- You're installing permanent wiring to your home electrical panel.
- There will be a few outlets, lighting, or large appliances in the shed.
- You want to trench underground electric cables - this takes permission.
- Safety and local building codes require inspections.
You May Not Need a Permit If:
- You have battery or solar-powered lights.
- The shed you have needs smaller electrification like 1 or 2 lights, or you are going to do just repair work for the existing electric system - municipal codes don't require permits for such temporary works.
Codes vary by jurisdiction, so check with your local building authority. Quick calls or internet searches will save you from fines later or the hassle of rewiring.
Why Get Shed Electrical Permit?
You might be tempted to skip the permitting process, but getting one is necessary for safety, legality, and long-term benefits.
Here's why you shouldn't ignore it:
1. Ensures Safety
Electricity is nothing to mess with. A permit guarantees your wiring is up to local electrical codes, making fires, electrocution, or system failures less likely. Proper inspections confirm everything is installed safely.
2. Avoids Legal Issues & Fines
If you perform electrical wiring illegally and an inspector finds out, you can be required to pay hefty fines or be forced to redo the work. In some cases, illicit wiring can even lead to legal responsibility if an accident occurs.
3. Protects Your Home Insurance Coverage
Insurers can refuse to cover damage caused by unapproved electrical work. You might be left to foot the bill to replace or fix items if a fire results from faulty wiring.
4. Increases Property Value
If you're planning on selling your home, unpermitted electrical work can be a deal-breaker for potential buyers. Most home inspectors will check for the necessary permits, and their absence can delay or even nullify a sale.
5. Helps You Do It Right the First Time
With a permit, you'll likely need an inspection, which ensures your installation is up to safety and efficiency standards. It saves you from repairs later, rewiring, or costly mistakes.
While getting a permit might seem like an extra hassle, it is a small step that offers tremendous peace of mind.
How To Get A Permit For Running Electricity To Your Shed?
Getting a permit may sound complicated, but it is typically an easy process. The following is a step-by-step checklist to guide you through it:
1. Check Local Building Codes
Each city, county, or state has its own electrical permit process. Go to your local building department's website or give them a call to verify what's required. They'll give you information on fees, documentation required, and inspection processes.
2. Gather Necessary Documents
Most permit applications need:
- A detailed electrical scheme (showing wiring, outlets, and connections).
- A site plan (showing your shed's location in relation to your home).
- Specifications for any wiring, breakers, or electric panels that are being installed.
3. Submit Your Application
You'll typically have to apply in person or online at the local permit office. Some localities demand that a licensed electrician pull the permit, but others allow homeowners to do this.
4. Pay the Permit Fee
Permit costs vary by location but generally range from $50 to $500. Costs are determined by the complexity of the electrical work and by local codes.
5. Schedule an Inspection
After your permit has been approved, you will require one or more inspections:
- Pre-inspection: Before installation begins, to review your plans.
- Rough-in inspection: After installing wiring but prior to the closing of walls.
- Final inspection: After everything is installed and turned on.
6. Get Approval and Start Your Project
Once you've passed the final inspection, you'll be approved, which means your shed's electrical system is code-compliant. You can now safely enjoy a fully powered shed!
Doing these things will keep you out of legal trouble and get your project done safely.
How to Run Electricity to a Shed?

Electrifying your shed adds a whole new dimension of utility, from improved lighting to powering tools. Here's a step-by-step guide to walk you through the process:
1. Plan Your Electrical Needs
Determine what you will be powering in your shed. Will you be powering just some lights, or will you be operating heavy-duty equipment? This will help you decide the size and kind of wiring you will need.
2. Choose the Power Source
Decide where you'll be getting power from:
- Main Electrical Panel: For a permanent solution, it is ideal to have a dedicated circuit from your home's main panel. This offers greater capacity and safety.
- Existing Outdoor Outlet: You can consider tapping an existing outdoor outlet for small power needs with appropriate extension cords. This, however, is not a recommended solution for permanent installations from a safety perspective.
3. Select Wiring Method
There are two primary methods of powering your shed with electricity:
- Underground Wiring: This is the safest and most utilized method. It provides the cables with protection against weathering and mechanical hazards.
- Overhead Wiring: This is a method of stringing wires overhead along poles. Less common in residential settings, it can be an alternative in some cases.
4. Gather Materials
You'll need:
- Conduit: PVC conduit is typically used for underground runs to protect the wiring.
- Electrical Wire: Utilize wire rated for underground installation, such as UF (Underground Feeder) cable.
- Circuit Breaker: An individual breaker in your main panel for the shed circuit
- Subpanel (Optional): If you require multiple circuits in the shed, installing a subpanel is advisable.
5. Trench the Ground
Trench from the house to the shed for the conduit. The trench depth varies by local code and conduit type. For instance, PVC conduit wiring usually needs a minimum of 18 inches of cover.
6. Install Conduit and Pull Wires
Lay the conduit in the trench and thread the electrical wire through it. Ensure there are no sharp bends that can damage the wire.
7. Connect to the Power Source
- At the House: Connect the wire to the dedicated circuit breaker in your main panel.
- At the Shed: Mount switches, outlets, and fixtures where needed. If using a subpanel, connect incoming power to it and divide circuits as needed.
8. Inspection and Testing
Before using the new electrical installation, have it inspected as required by local building regulations. Once approved, test all the outlets and fixtures to ensure they're functioning well.
How Much Does It Cost to Add Power to a Shed?
The cost to run power to a shed varies based on distance, wiring method, and electrician cost. Homeowners can expect to pay between $500 and $3,800 on average, with the cost of underground wiring costing between $10 and $25 per linear foot.
Additional expenses may include permits, inspections, and electrical panel upgrades, which can be added to the overall expense. Safety and adherence to local codes are assured by employing a professional, but DIY installation saves money. Labor expenses vary by region but typically range from $70 to $90 per hour.
Extra Tips & Tricks for Running Electricity to a Shed
Supplying your shed with electricity is a great investment, but there are some handy tips that can make the job simpler, safer, and cheaper.
- Use the Right Wire Gauge – Thicker wires prevent voltage drop over long distances. 10- or 12-gauge is standard.
- Bury Cables in Conduit – Protect underground wiring with PVC or metal conduit at a depth of 18 inches or more.
- Install GFCI Outlets – Prevent shocks with outdoor-rated, weather-resistant GFCI outlets.
- Consider a Subpanel – Ideal for multiple circuits and future expansion.
- Plan for Future Needs – Run extra conduit or higher-capacity wiring now.
- Check Utility Lines – Call 811 before digging to avoid hitting underground utilities.
- Employ an Electrician for Complex Tasks – Ensures safety and compliance.
These recommendations will make your shed's electrical installation safe, efficient, and future-proof!
Conclusion
Electrifying your shed can make it more useful, whether for lighting, tools, or a hobby workshop. Although a permit is typically required, it ensures safety and code compliance. It is a process that involves laying out power needs, choosing the right wiring method, and following local codes. Costs vary based on distance and type of installation, but budgeting appropriately can help overall.
Diana Mason
Hi there! I’m Diana Mason, the chief editor of Patiowell brand. With over 15 years of diving deep into the world of outdoor furniture, I’ve developed a keen eye for what makes outdoor spaces truly special. I love sharing tips and inspiration to help you create your perfect backyard retreat. Our blog is a reflection of my passion and expertise, featuring only the best pieces that I personally vouch for. Thanks for stopping by—I can't wait to help you transform your outdoor living space!


Leave a comment
All comments are moderated before being published.
This site is protected by hCaptcha and the hCaptcha Privacy Policy and Terms of Service apply.